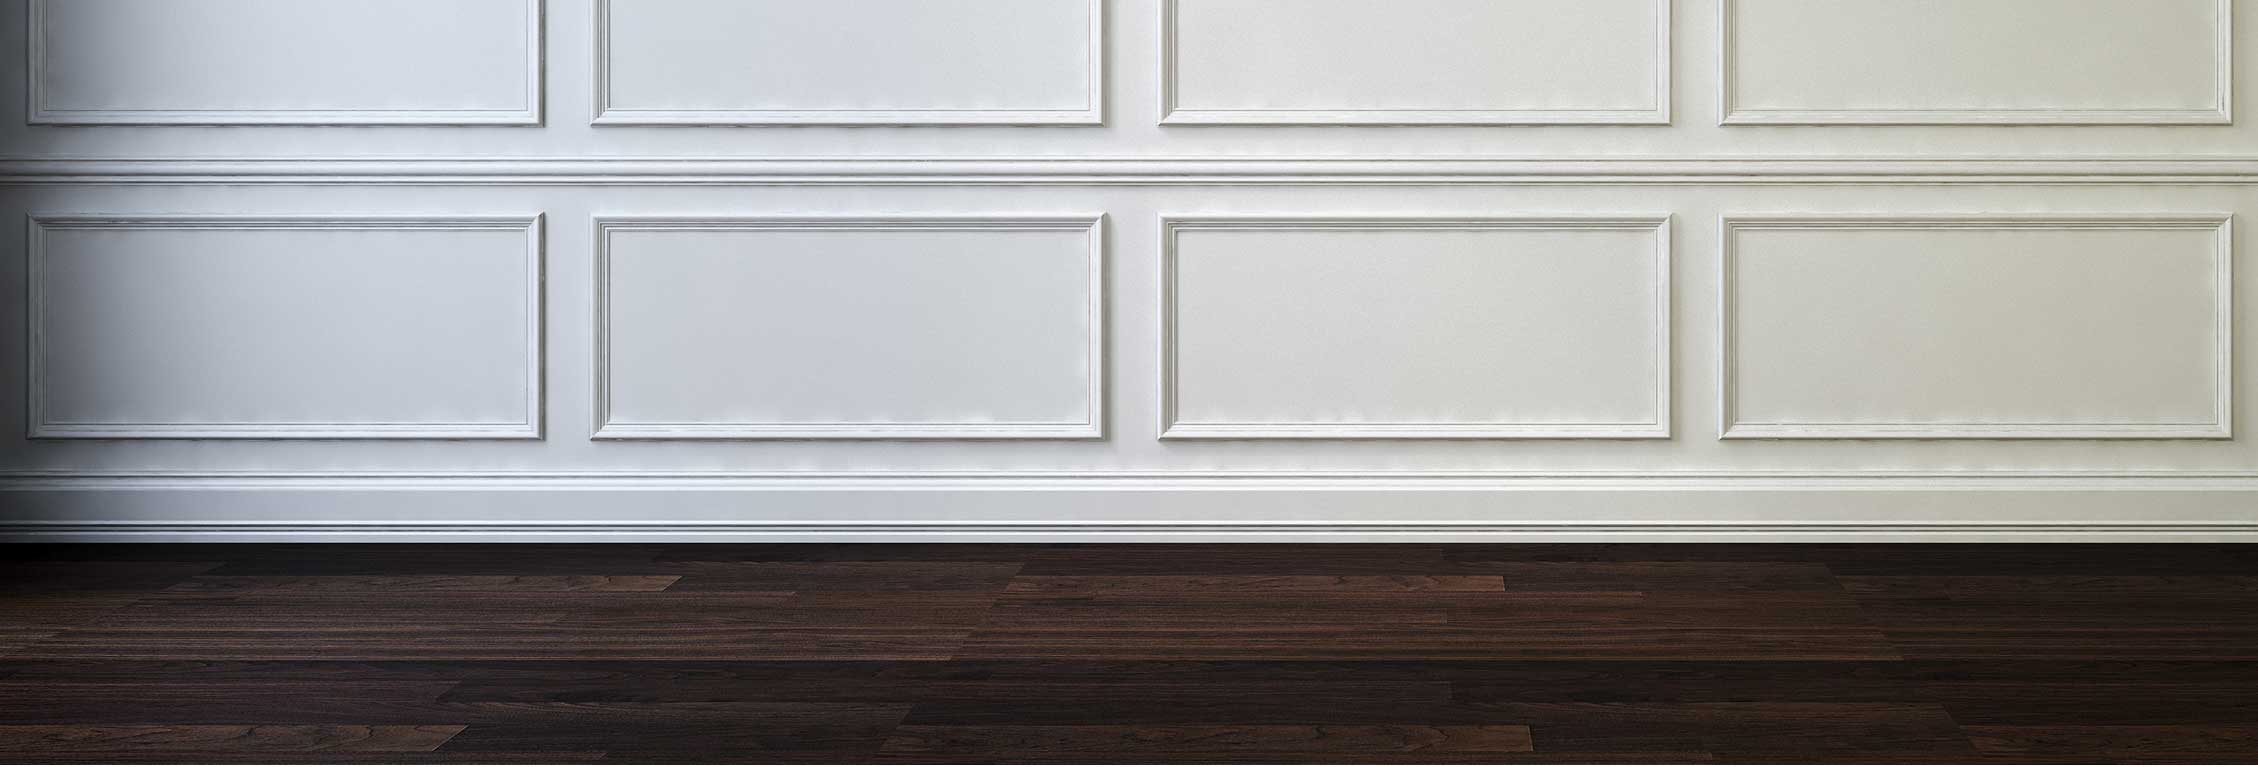
Use LIQUID NAILS® FUZE*IT® All-Surface Construction Adhesive (LN-2000), or LIQUID NAILS® Ultra Qwik Grip Adhesive (LN-990) for your interior trim and molding installation to save you time and to give you a better finished product.
The benefits of using these construction adhesives for your installation are:
- Reduces or eliminates the need for fasteners
- Reduces touch-ups
- Cuts down installation time
- Creates attractive and long-lasting results
Here’s how to install interior molding and trim with a construction adhesive:
Step 1.
Make sure the adhesive is rated for the type of trim you are installing as well as the surface you are installing it to. These Liquid Nails products are rated for use with most interior trim and molding types.
Step 2.
Cut and dry fit trim pieces prior to applying your adhesive.
Step 3.
For smaller trim and molding, run a 1/4-inch continuous line (bead) along the back of the trim or molding. For trim or molding larger than 2 inches in width, run a 1/4 –inch serpentine bead (S-bead) of constructive adhesive about 1 1/2-inches from both edges of the trim. Push the piece into place and hold for 5- 10 seconds.
Step 4.
Allow the adhesive to dry or cure for at least 2 hours prior to painting. For best results, allow to dry or cure for 24 hours.
Please refer to the Product Label, Technical Data Sheet (TDS) or Safety Data Sheet (SDS) for safety and detailed application instructions.